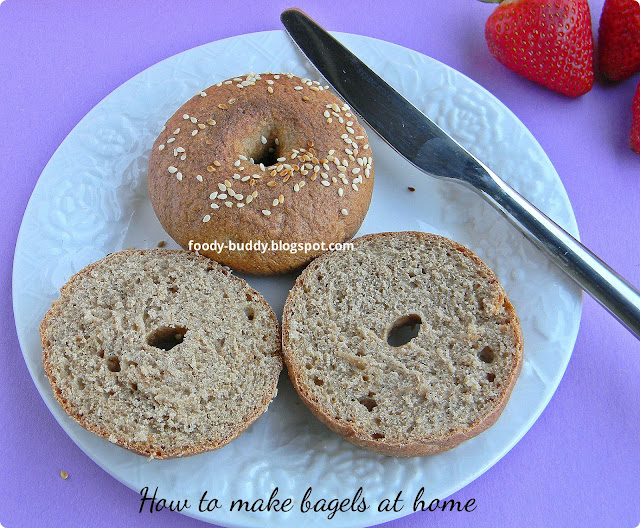
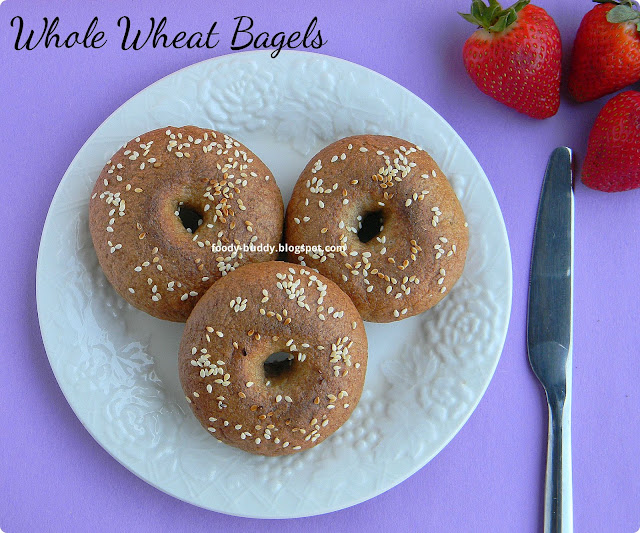
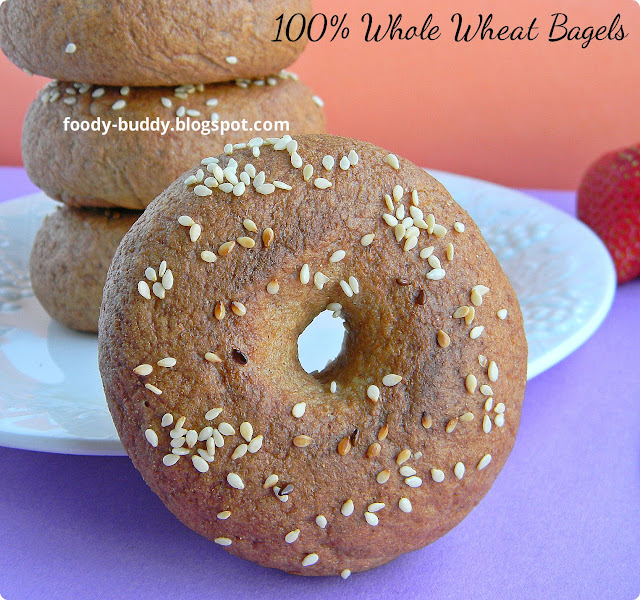
WHOLE WHEAT BAGELS – HOW TO MAKE BAGELS AT HOME WITH STEP BY STEP PICTURES


Bagel is a bread product, made with whole wheat flour/ white flour, knead it and shaped it into a ring and baked it in a oven. They are dense, chewy on inside and browned, crispy on outside. You can make bagels with wheat flour or white flour. For health reasons, here I used whole wheat flour to make bagels. Also you can top the bagels with sesame seeds or poppy seeds or oats or any choice. If you make bagels at home, then your breakfast will be ready in mins with some butter and jelly, very filling and yummy:-)
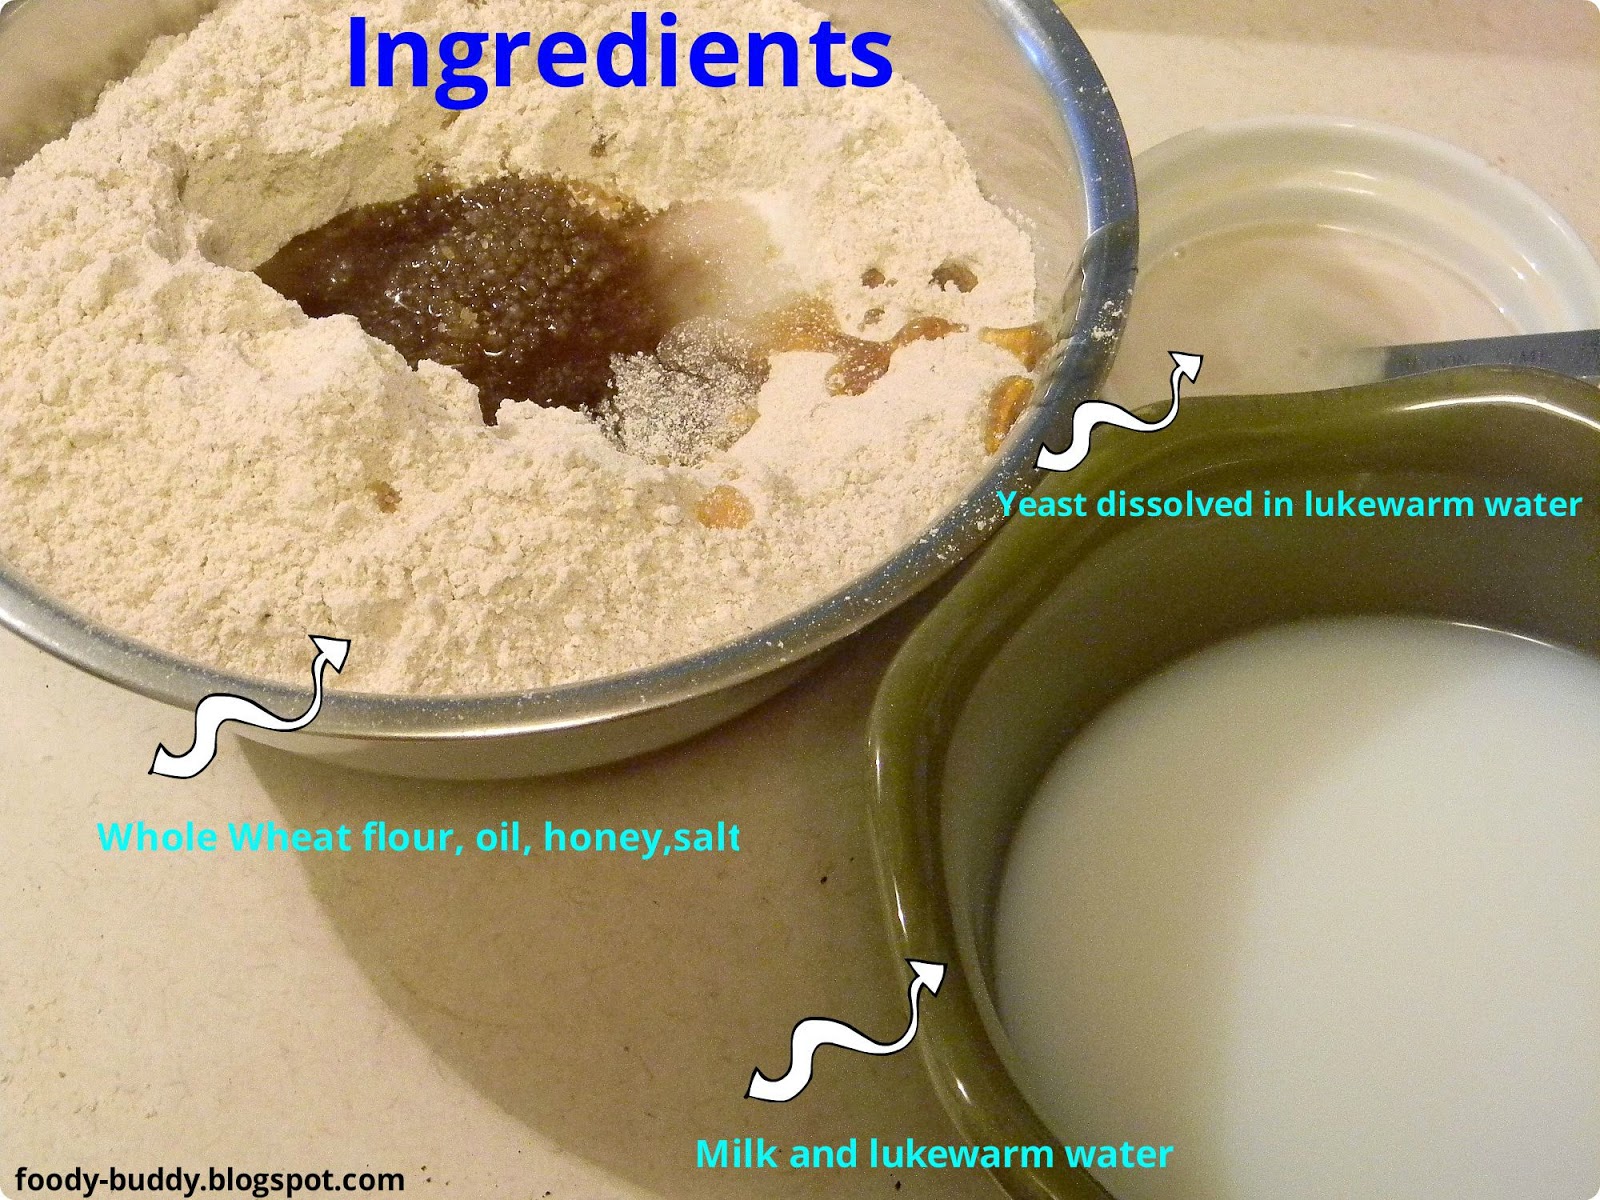
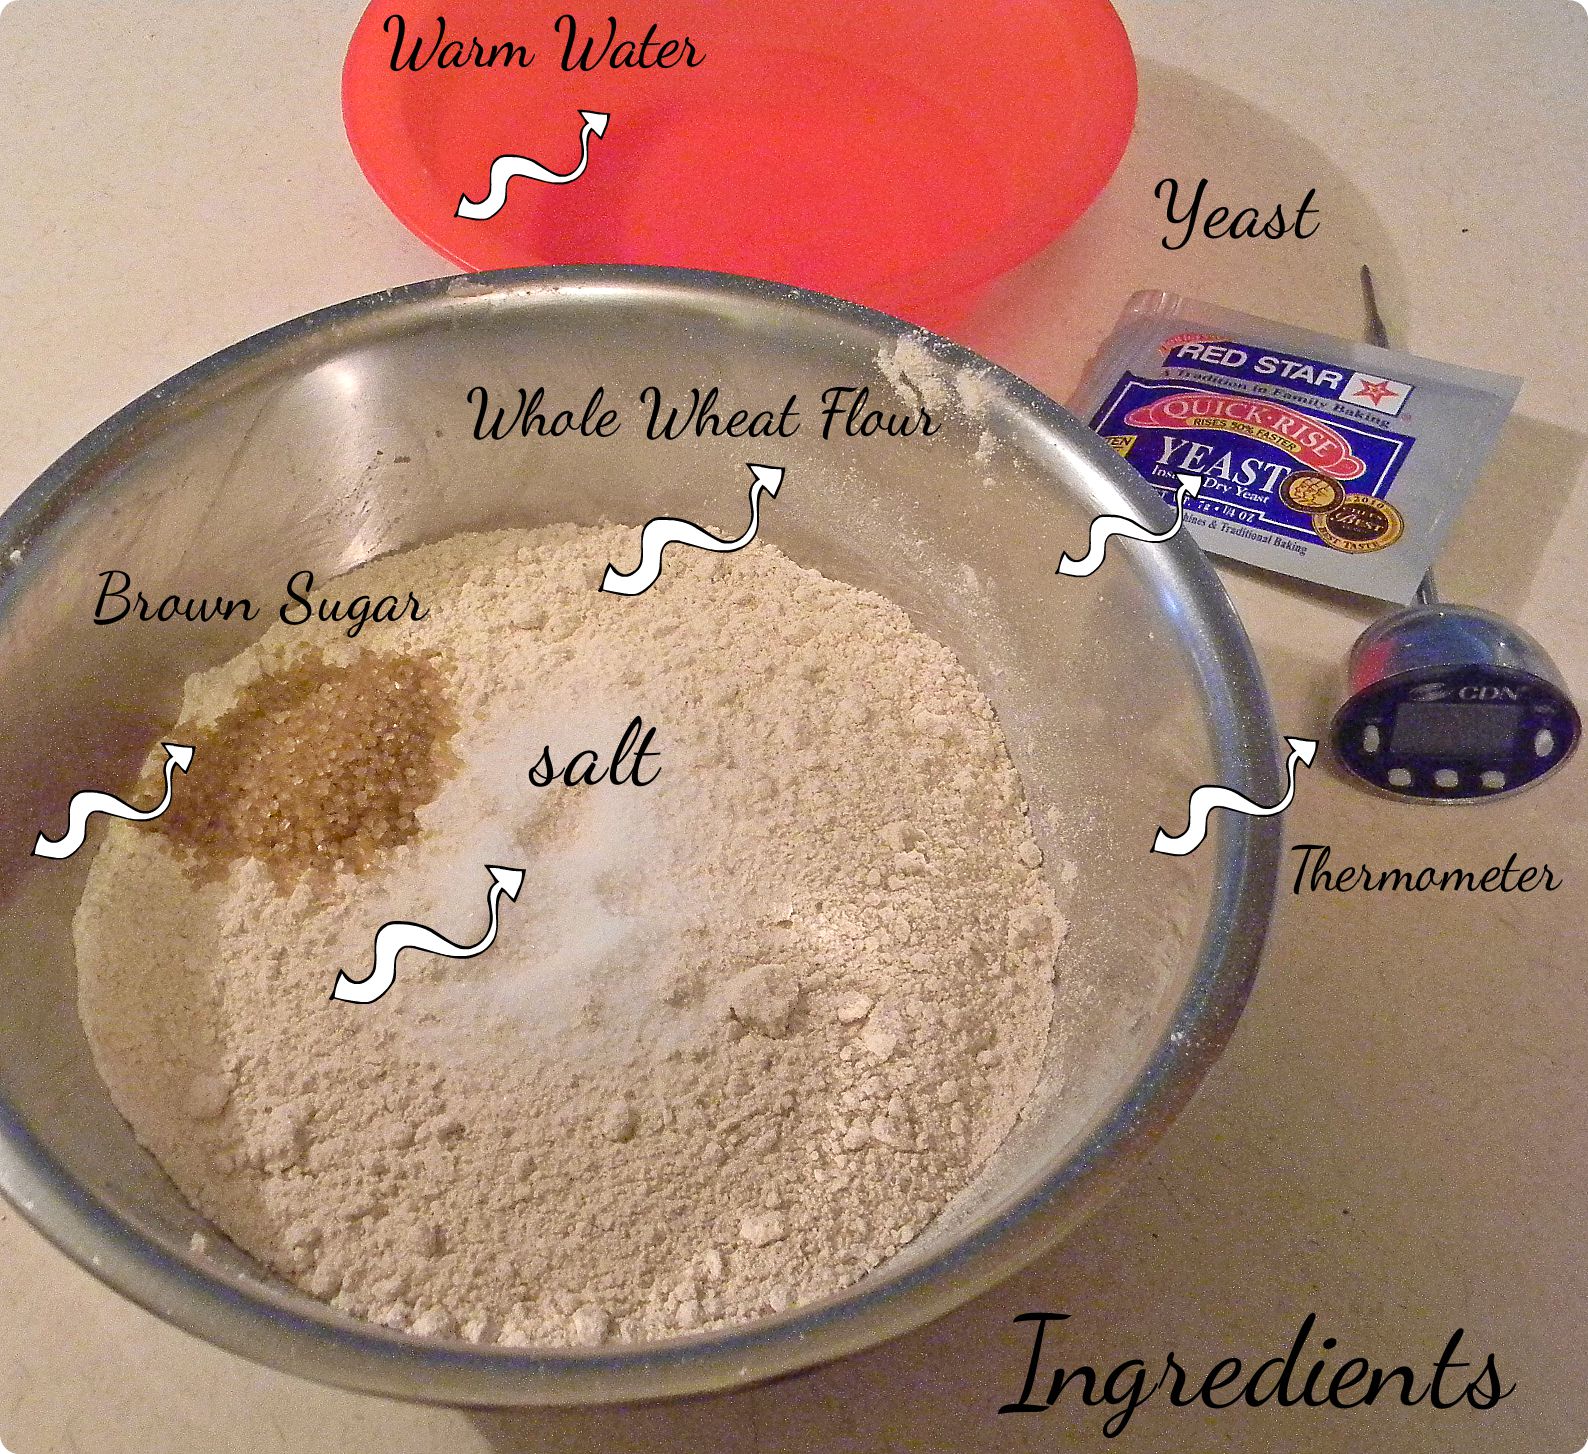
Ingredients
2 Cups of White Whole Wheat Flour / Wheat flour
2/3 Cup of Water
1 Tsp of Salt
1.5 Tbsp of Sugar(white or brown)
1/2 Tbsp of Instant Yeast
Sesame Seeds for topping
Recipe Source : TheWellflouredKitchen
Method
Mixing :
- Now in a wide bowl, combine all the ingredients except sesame seeds, stir well till the dough starts to leave the sides of the bowl
Kneading:
- Transfer the dough to the counter top, knead it for 10 mins with hand, until you get soft and smooth dough. (You may also knead the flour in a food processor).
Rising:
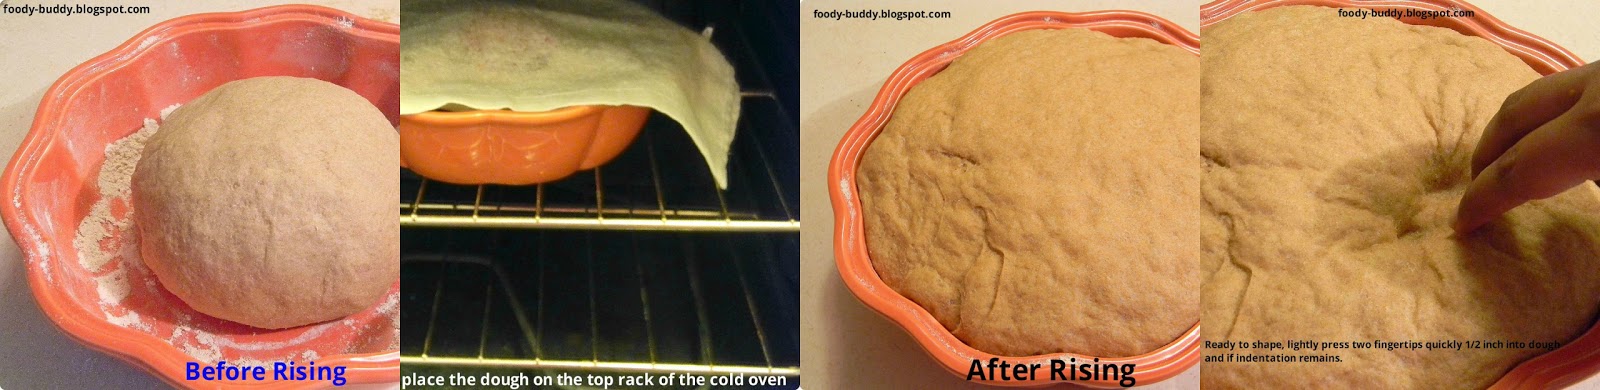
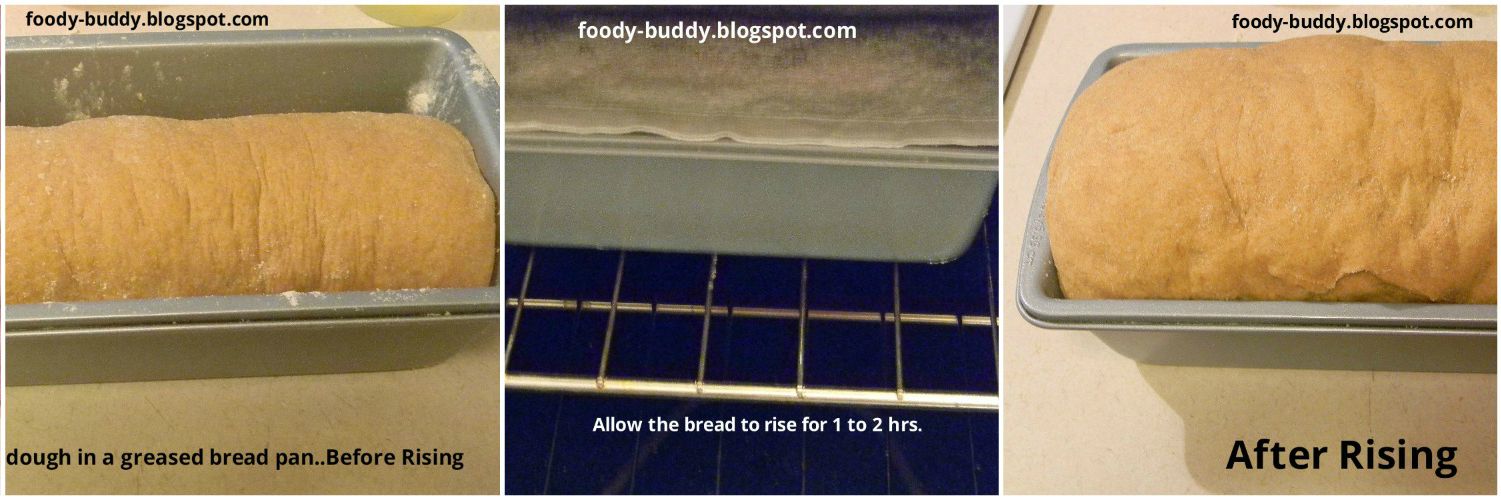
- Transfer the kneaded dough to a lightly greased bowl, cover it with a towel and place the dough in a warm place for 2 hrs.
- To provide a warm place for the dough to rise, place the dough on the top rack of a cold oven. Dough should be double in size, depending on the warmth of the kitchen.

Punch:
- Punch down the dough by pushing your fist into the center of the dough. Again, knead it for 5 mins.
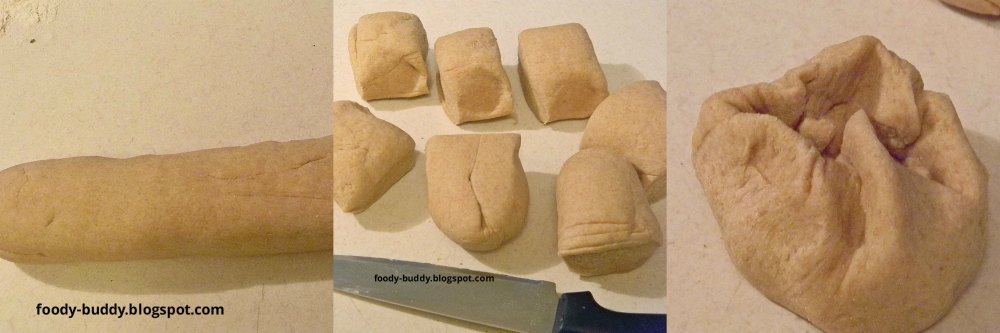
Shaping:
- Shaping a bagels starts with placing the dough on a counter top.
- Then, roll the dough into a cylindrical shape as shown in picture.
- Cut them into a desired number of pieces using knife.
- Take each piece of dough and shape it like ball by joining all the sides towards the centre as shown in picture.
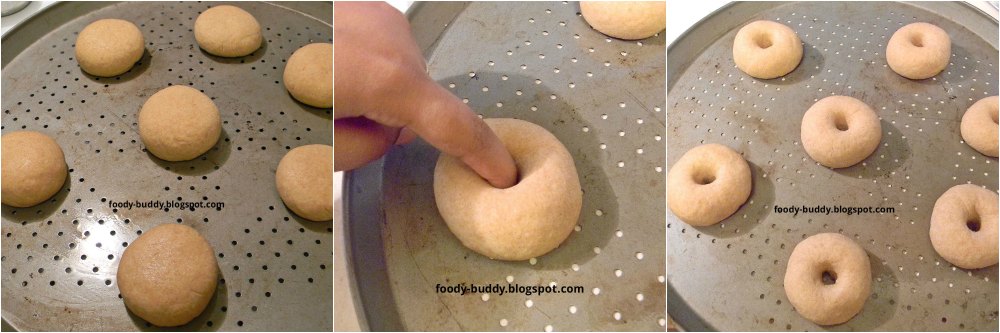
Making holes in the dough balls
- Now place all the balls in a greased baking plate.
- Punch holes in the middle of each balls with your finger and allow it to rest for 20 mins.
- Preheat your oven to 425° F.
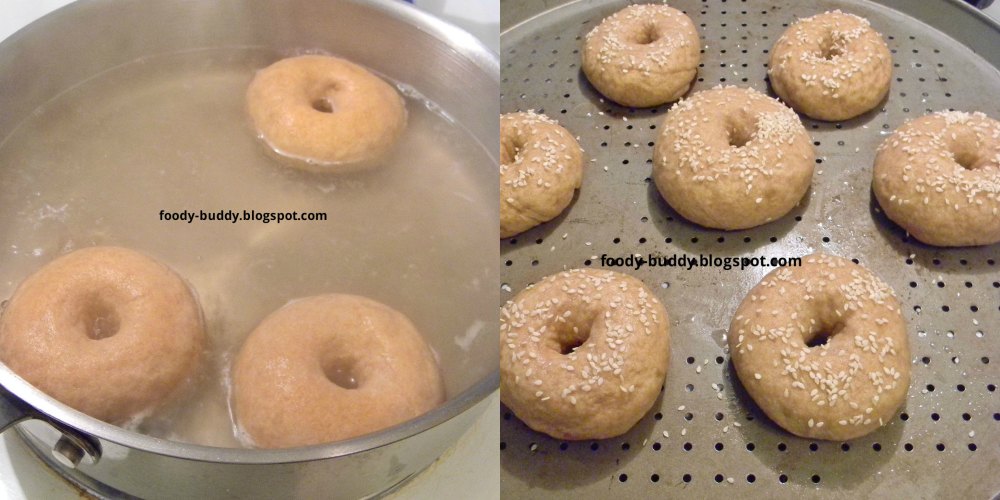
Cooking the bagels in sugar water
- In a heavy bottomed pan, add few inches of water and a tbsp of sugar. Allow it to come to a boil. Now drop bagels 3 at a time. Cook 90 seconds on one side, flip it and cook 90 seconds on other side.
- In the mean time, grease the baking plate with some oil. Carefully take bagels from the pan, and place it in a greased baking plate.
- If you eat eggs, brush the top with beaten eggs. If you don’t eat eggs like me, just sprinkle the sesame seeds at the top of the bagels.
Baking
- Now place the baking plate in a oven. Bake about 10 mins on one side, flip with spatula and bake for another 10 mins on other side.
-
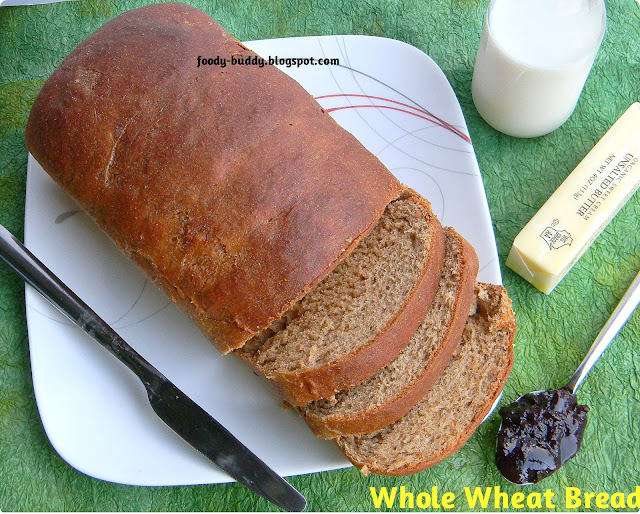
Bagels are ready to enjoy with butter and jelly. Slice it and store it glass cake dome or any container.
Tips
- If you use active dry yeast, you need to activate. For that, you have to dissolve the yeast in lukewarm water and a pinch of sugar. Water temperature should be around 105 degree to 110 degree Fahrenheit. If the water is cold, yeast will not work. If the water is hot(130-140 °F), the yeast will die. So make sure to maintain the favorable temperature.
- If you have ground flaxseeds, add a tbsp of it to the flour.
- Adding sugar, not only for flavor, but it provides food for the yeast to grow.
- Adding salt, controls the growth of the yeast and also contributes the flavor to bagels.
- You can top the bagels with oats, finely chopped vegetables or Italian seasonings.
- Shelf life is very less for bagels. So finish it within 2-3 days.
Health Benefits of Whole Wheat Bagels
- Rich in fiber, helps in proper functioning of digestive tract and lowers the cholesterol and metabolic syndromes.
- Reduce the risk of cardiovascular disease.
- Reversing the weight gain process.
- Lowers the risk of diabetes.
- Excellent laxative properties.
- It has powerful antioxidant, which is vitamin E, good for skins.